Topics
Why You Should Be Growing Microgreens and 3 Easy Steps to Start
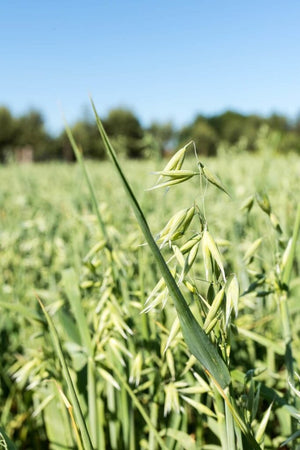
Microgreen growing tipsMicrogreens are a fast and easy way to add fresh, homegrown vegetables to your diet. These little seedlings are ready to eat in as little as 12 days. Delicious, nutritious, and simple to grow indoors, you can start growing microgreens any time of year.

What are Microgreens?
Microgreens are plant seedlings. Their growth stage is between sprouts and baby greens. The seed leaves (cotyledonary leaves) are fully developed, and the first set of true leaves have appeared.
What are the nutritional benefits of Microgreens?
- These small but mighty plants contain higher concentrations of phytochemicals and nutrients than the same plants in their mature stage. Studies have shown that microgreens average 5 times the amount of vitamins and carotenoids compared to the same mature plants.
- Some of the concentrated vitamins you will find in microgreens are vitamins C, E, and K. Carotenoids in the cotyledons are turned into vitamin A in the body.
- The natural nutrients found in microgreens have been shown to keep the body’s immune system functioning, build healthy bones, help wounds heal, regulate blood cholesterol, help organs function optimally, contribute to healthy vision, and protect cellular membranes by scavenging free radicals.
Microgreens are not just a fad. They’re an easy and quick way to grow the vitamins and nutrients that your body is craving.


3 Easy Steps for Growing Microgreens
Microgreens are perfect for growing indoors because of their simple growing requirements. The seeds already have all the nutrients they need to sprout. They just need something to attach their small roots to and have enough moisture to grow. And, when the time is right, some light.
- Get Them Wet. To get your microgreens growing, first, soak the seeds in a bowl of cool water. (Not all microgreen seeds will need soaking, so check the package for soaking recommendations.)After soaking, spread the seeds onto a damp growing medium. Continue to keep them moist by misting them with water from a spray bottle as needed. Sow Right Seeds microgreens growing kits come with seed starting mix and all the supplies you need.
- Keep Them Dark. Cover the seeds and keep them away from light for a few days. This blackout period forces the seedlings to stretch toward the light, which makes the stems longer. When they are taller, the microgreens are easier to harvest.
- Give Them Light. Once the seeds have sprouted, remove the cover and expose the seedlings to direct or indirect light as specified on the seed packet. Light during this growth period is essential for microgreens. The photosynthesis process is what makes the bright green and red colors develop. These beautiful colors are also very nutritious.
Other Questions You May Have About Microgreens
Is it Worth Growing Your Own Microgreens?
When you consider the cost of growing microgreens vs. buying them from the store, of course, it’s worth growing your own. But there are other reasons besides the cost for growing your own microgreens.
Easy to Grow
Growing microgreens is simply letting the seed sprout. Anyone can have a successful harvest.
Quick Grow Time
The time from planting to harvest of microgreens can be as little as 12 days.
Minimal Water Usage
Microgreens use very little water, especially when compared to traditional gardening.
Grow Anywhere
Lower amounts of light are needed, which means they can be grown indoors in a variety of locations.
Very Little Space
A little spot on the countertop is all you need to grow nutritious micro-greens.
Nutrient Shelf-life
Since they deteriorate rapidly after harvest, you will get the freshest flavor and most nutrients by growing your own microgreens.
Delicious Fun
Microgreens can be added as a creative visual on a variety of dishes. It is also fun to watch them grow.
How do microgreens differ from sprouts?
When you eat microgreens, you don’t eat the seed. The seed is still in the soil, and you harvest microgreens by cutting them. When eating sprouts, you eat the whole thing, seeds and all. However, sprouts are not fully developed and don’t have the green leaves and extra nutritional benefits of microgreens.
When do I harvest microgreens?
When seedlings are about 2 inches tall, they will be ready to harvest. At this point, the seed leaves (cotyledons) will be fully grown, and the first set of true leaves will be growing.
How do I harvest microgreens?
Microgreens do not regrow once they are cut. You will be harvesting the whole plant. Use scissors to cut the greens just above the soil. Then rinse in cool water. Enjoy them immediately or place them in the fridge to consume within a few days.
How do I eat microgreens?
The best way to enjoy microgreens is to eat them raw. This preserves the highest amount of their natural vitamins.
The flavor is intense on its own, but microgreens can also be added to salads, smoothies, and pesto for a fresh burst of nutrition. Microgreens also add color and texture when sprinkled on pizza, sandwiches, baked potatoes, eggs, grain bowls, and cooked vegetables.
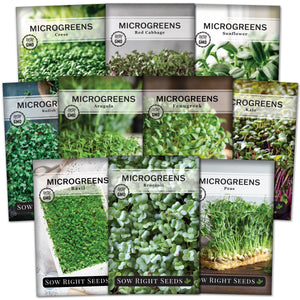
What Microgreens Should I Grow?
Each variety of microgreen seeds has its own unique flavor. Sow Right Seeds offers a variety of microgreens to grow.
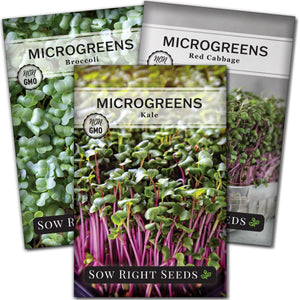
If you’re looking for maximum nutritional benefits, try growing cabbage or beets. The beautiful colors of these microgreens tend to have higher levels of vitamin K and carotenoids.
Do you want to add some visual interest and texture to your plate? Try sunflowers and peas.
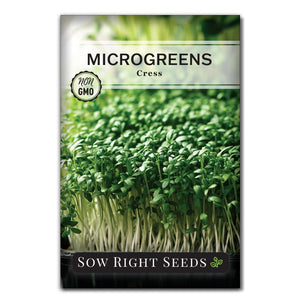
Or maybe you like intense flavors to wake up your taste buds. Give arugula and cress a try.
Growing microgreens is extremely easy. Use our microgreen growing kits, and you'll have everything you need to start growing microgreens indoors.


Leave a comment